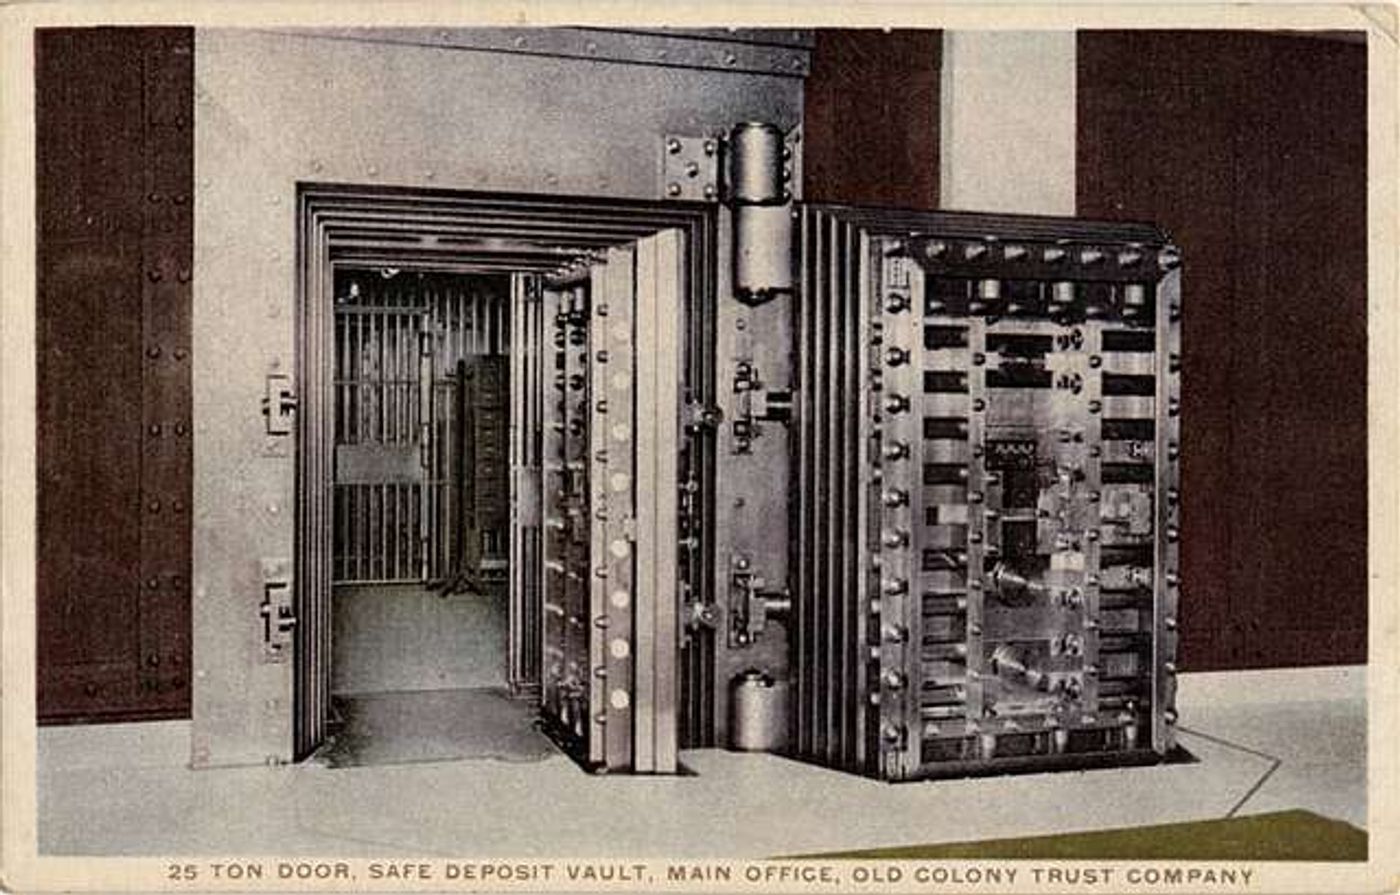
Most of us have one good password we use everywhere. That feels safe, but it only takes one of those sites to be breached, which happens far too often. Once that password is out, every account using it is open.
You'll need
- •30 to 60 minutes
- •Your laptop and your phone
- •Access to your email (you’ll get a few “is this you?” messages)
No guilt if your passwords currently live in a notebook, a spreadsheet or the back of your head. We’re about to change all of that.
Step 1: Choose your vault
A vault is a secure safe for your passwords. It creates strong ones for you, stores them, and fills them in when you log in. It’s like magic, but with security in mind.
There are plenty to choose from. A few starting points (none of this is sponsored):
- Built into your phone or browser (Apple Passwords, Google Password Manager): free and already there, so a good start if you work alone on one set of devices.
- Bitwarden: free or very cheap, and works on everything.
- 1Password: paid, very easy to use, and good for teams. It’s the one I use.
Whichever you pick, check it ticks these boxes:
- Easy: it slots into your day without having to learn new software.
- Secure: “zero-knowledge”, meaning even the company can’t see your passwords.
- Everywhere: it works on your laptop and your phone.
- Shareable: if you have a team, you can share logins safely without sending them over WhatsApp or email.
Cost matters, but this isn’t the place to save a few pounds.
Step 2: Set up your master password and recovery kit
This is the one password you still need to remember, because it unlocks everything else. So make it a good one:
- Use three or four random words, like
copper-walrus-tuesday-lantern. It’s long, easy to remember, and very hard to crack. - Never use it anywhere else. Ever.
- Print or write down your recovery kit (most vaults give you one when you sign up) and keep it somewhere safe at home, not on your laptop.
- Turn on two-step login for the vault itself. That means a code from an app on your phone as well as your password.
Then install the vault on your laptop and add the browser extension. That little button in your browser does most of the work from here on.
Step 3: Do a quick 10-minute audit
Nobody likes this bit, but it’s the most important. List the services you use to run your business. You can type them straight into your vault as you go, or jot them on paper first.
Start with the ones that matter most, in this order:
- Email. Whoever controls your email can reset every other password, so it always comes first.
- Bank
- Payments (Stripe, PayPal, card reader)
- Accounting (Xero, QuickBooks)
- Your domain and website. Do you actually know who holds the login for your domain name?
- Everything else: CRM, social media, suppliers and so on.
Step 4: Change your passwords, top accounts first
Work through the list:
- Log into the service and go to “change password”.
- Your vault should pop up and offer a strong new password, something like
Nx0667hT$-jh6kt@. Accept it. - Save. You may get an email to confirm it’s you.
While you’re there, switch on two-step login wherever it’s offered, especially for email, banking and payments. For those most important accounts, use an authenticator app or a passkey (a newer, password-free way to log in that most vaults can store) rather than codes kept in the same vault. That way, if one thing is ever compromised, the other still protects you.
Aim to finish your top 5–10 accounts today. The rest can wait. Each time you log into something over the next few weeks, your vault will offer to save and upgrade that password. A month from now it’s all done, and you’ll have hardly noticed.
Step 5: Put the vault on all your devices
Install the vault app on your phone and tablet too. Your new passwords are impossible to remember, which is the point, so you’ll need the vault wherever you log in. On your phone, it fills in passwords automatically from the login screen.
Step 6: Tidy up and plan for the worst
- Delete the old stuff: the passwords spreadsheet, the notes on your phone. Shred the notebook.
- Delete any audit list you made in Step 3. A list of every service you use is a handy map for a scammer.
- Set up emergency access. Most vaults let you nominate someone you trust to get in if you can’t. If you ended up in hospital tomorrow, could anyone pay the bills or keep the website running?
- Keep an eye on breach alerts. Most vaults will warn you if a password turns up in a data leak. When that happens, change it. It takes two clicks.
You’re done when…
- ☐ The vault is installed on your laptop and phone
- ☐ Your master password is strong, unique, and your recovery kit is on paper somewhere safe
- ☐ Email, bank, payments, accounting and domain have new passwords
- ☐ Two-step login is on for email and banking at the very least
- ☐ Old password lists are deleted
That’s it. No more forgotten passwords, no more worrying that one leak exposes your whole business, and no more wondering who’s seen that spreadsheet. Small effort, big lock on the front door.